Lighting can be quite a daunting aspect of self-shooting. There are so many options for how you light and the slightest adjustment can leave your subject looking over/underexposed. Luckily, for most content, you only really need one key lighting source. However, you can add backlighting or fill lighting to see a real step up in quality. As long as your subject is evenly lit and your camera/phone is set up in the correct way, your lighting is going to be fine, for the most part.
Make sure the settings on your camera are right for what you want. Do this before you start to adjust your external light sources. I can’t tell you the number of times I’ve fiddled around with my lights, only to find that my settings were the problem. Making sure your camera settings are correct before you start adjusting your light could save you a lot of time.
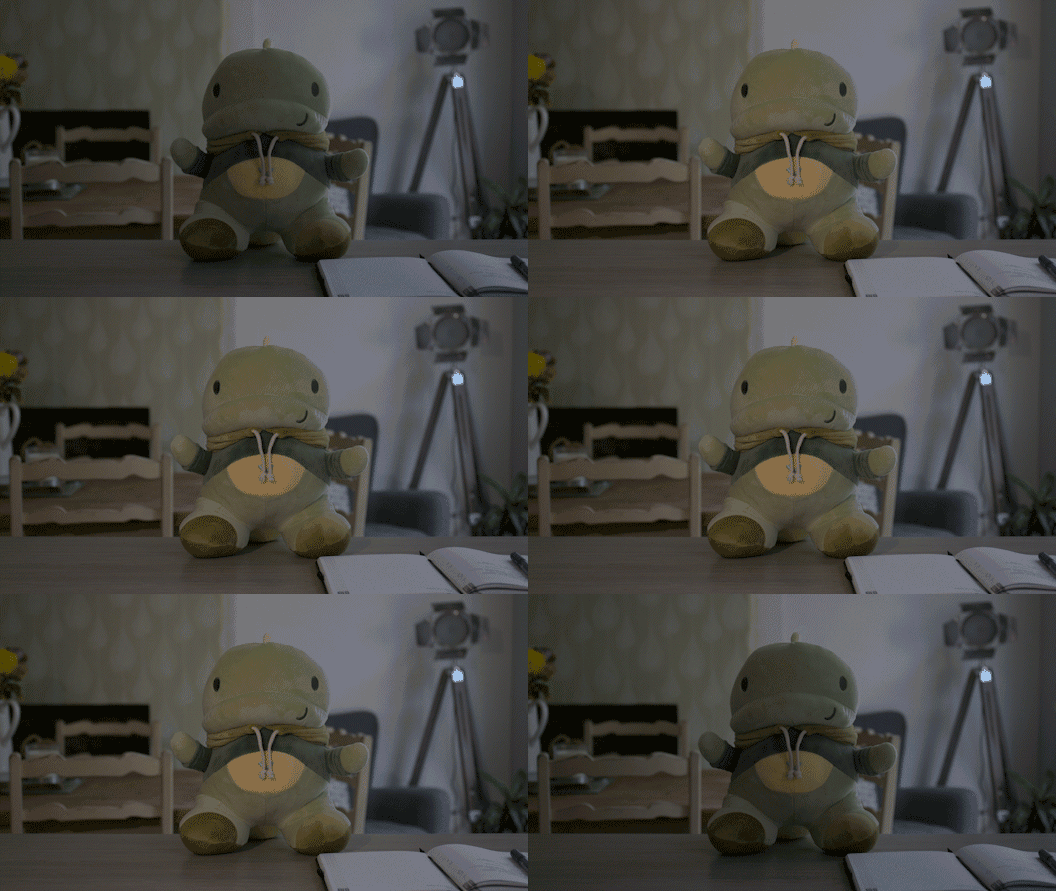
Colour temperatures sound quite technical, but it’s just being aware that natural light tends to look cooler than artificial light. Most cameras have an auto white balance setting these days, which might work fine. But if your picture is looking a little blue (cold) or yellow (warm), you might want to have a play with the white balance presets until it feels right and/or matches what you’re seeing with your eyes.
Key lighting
Your key light is going to be your primary, and maybe your only source of light. Use what you’ve got available to you. If you’re filming outside, make sure you take the time to see how sunlight is hitting the your subject. Try different angles if it’s not quite right. If you’re shooting inside, make sure that light isn’t too close to the subject. Lighting that is too bright can be distracting, but the great thing about lighting inside is you have full control of how close you put your light source to your subject and how intense that light is.

Fill lighting
Fill light is something you can add if you’re finding your subject is a little too shadowy. It’s generally used as a counter to your key light source and so if your primary light source is coming in from the right side of the camera, you want your fill to come in from the left. This can help make an image look more natural and give you a more robust-looking image. You can add diffusers over your lights to take a bit of intensity out of them or even bounce them off of white surfaces if you’re finding them to be too intense.

Backlighting
The backlight is something I see a lot of people get wrong. It’s something that really helps a subject stand out from their background and can give footage a real professional feel. When it’s done wrong, though, you really notice. This is because this light is usually pointing towards the camera. This means it’s very easy to angle it wrong and produce glare. You can also have this light source turned up too brightly, creating a halo effect behind the subject. To avoid this, make sure the light isn’t pointing directly back at the camera, and experiment with light intensity.

I’ve given you a few examples of different lighting here, but if you’re a beginner I’d suggest just keeping it simple. Master using just a key light source, and when you’re comfortable with this start adding fill and back lighting.
TOP TIP: If you’re filming outside, get yourself a bounce board (also known as a reflector). They’re relatively cheap and can help you turn the sun into a great tool or help take the intensity out of a panel light that may be making your subject a little shiny. They can be mounted to stands or held by a helpful assistant. And although bouncing light sounds a little bit technical, it’s really easy to do and just gives you another option when it comes to lighting.
If you’re still stuck, feel free to get the experts in! Get in touch if you need a quick quote.

